Transcript
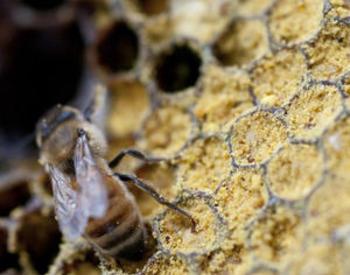
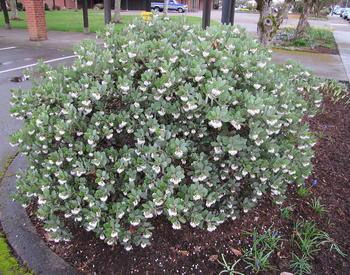
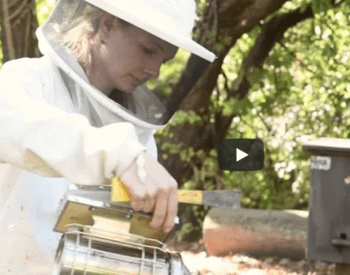
[Music] Hey, science explorers! Carrie here from Ghost STEM. Sarah Gardner, the bee entomologist, inspired me to check out the pollinating food in my garden. If you didn't get a chance to watch her video, go back and do that right now. In my garden, there's some bok choy blooming. Bok choy is an Asian cabbage-like plant. As I've stood here and watched for a while, I've seen at least five bees pollinating and even a couple of beetles. They are such cool animals when you stop and take a look. While I think Sarah has a pretty cool job, it is very special to study insects that pollinate. First foods of the Umatilla, Cayuse, and Walla Walla people, whose ancestral lands make up a large area in northeast Oregon. The Confederated Tribes of the Umatilla work hard to care for the food that nourishes them. If you want to learn about the Confederated Tribes of the Umatilla's first food management approach, you can go to the link in the description of this video to begin this discovery challenge.
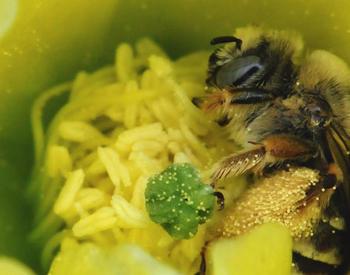
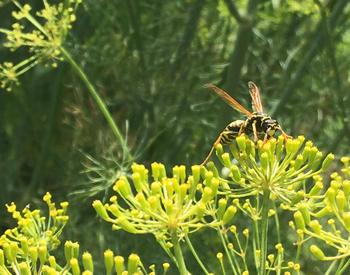
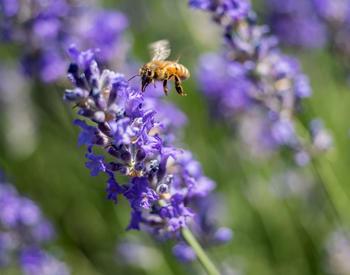
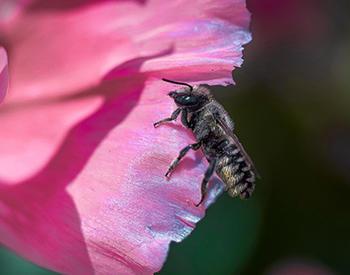
What's the buzz about bees? You're going to head outside and look for insects. If you want to focus on bees like Sarah Gardner does, that's totally cool. If not, go look for some insects under stones, leaf and needles, under trees, or in an underwood. Really, just go explore and be curious. So, if you've completed the three "I"s of a scientist in a previous discovery challenge, try using your "I notice," "I wonder," "It reminds me of" skills. Other things you might want to try are taking pictures of insects, writing down your observations, questions, and connections. You could even write a short poem. I wrote a little one. It goes like this: "A bee is as furry as a squirrel and as fast as a falcon." It's time to head outside, take your time, and make some insect discoveries.
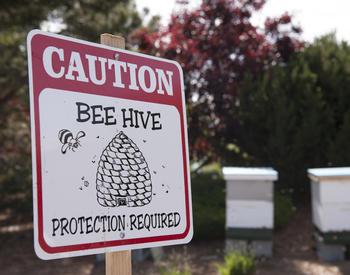
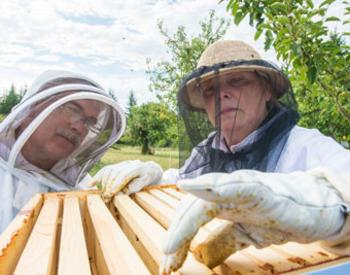
Welcome back, everybody! I hope you were able to find a lot of insects and take some time to observe them. As we focus on bees, we should point out that bees are struggling. People who study bees have known for about 15 years that bees are dying off in large numbers, and that includes honey bees and the over 4,000 species of native bees worldwide. So, more and more people like Sarah Gardner and the people of the Confederated Tribes of the Umatilla are helping out. Why might so many people care about bees? What is it that bees do for us? Do any ideas come to mind for you by chance? Well, there are quite a few reasons, and one reason is bees are responsible for one out of every three bites that we take. Put another way, bees pollinate about one-third of all of our food. That's a lot! Pollination is an amazing natural phenomenon. To learn more about the process of pollination, we have another video linked in this video's description. People all over the world are pitching in to help the struggling bees. Like we've already learned, people are researching and learning more about bees in their area. People are planting more flowers, especially flowers native to their region. And people are helping to protect and even build bee nests. Native bee nests are often found underground and they resemble small ant mounds or just a hole in the ground. Other bees lay their eggs in cavities, like inside hollow twigs or holes in branches or bark. People are making a variety of nests for cavity-nesting bees. Here are just a few examples.
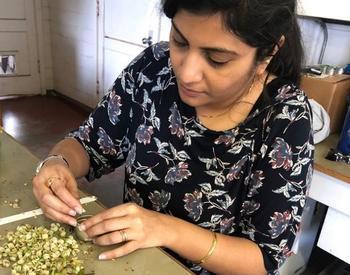
Okay, get ready because the Explorer Science Club is going to join the efforts and make bee nests too! Here are the things you'll need for your "What's the Buzz on Bees" discovery challenge. This supply list is more like a list of guidelines because you'll be designing your bee nest, you may come up with different ideas for supplies and we encourage you to try those ideas out. Okay, science explorers, to help you think through your own bee nest, I'm going to share a really simple bee nest design. Now, keep in mind, you're welcome to switch out the materials because you might have some really great ideas and very well might come up with a design better than mine. These are the materials I collected. I have my paper, I have my container, a toilet paper tube and a paper towel tube could work cut up. I have some tape, scotch tape would definitely work, I'm just all out. And I have my pencil. I have my waterproofing material, which is an aluminum can. And I have, for securing my nest outside, I have some duct tape. This is step one. You're going to make paper tubes. So, you're going to take your pencil and you're going to put it about a third of the way down, not halfway, but a little bit less down your paper. And you're going to fold your paper over and kind of crease it. Then you're going to stick your fingernails in there so it's nice and tight. And then you're going to roll it up just like so around your pencil. And then you'll take some tape, not all the way at the end, kind of in the middle, and you'll wrap the tape around a couple of spots. It's pretty good. You probably don't need this much tape. Then you want your pencil to be pretty long so that you can pull it on out. Alright, so I am going to do that about 10 more times. Then after all of the tubes are made, I'll fill my toilet paper tube with the paper tubes. Now, I'm going to cut the tubes so they are the same length as
the toilet paper tube. So, I'm going to make sure they're all pecked down and then I'm just going to mark one and take it out. And I'll cut it and I'll use this one to help me with all the others. Then, I'm going to cover up this end with some paper. It doesn't have to be pretty or anything. I'm just going to wrap it around. I'm going to take my duct tape. This could be your other tape too, actually. I'm going to use this other tape just because I think it's a little more breathable for the bees. Okay, and then the last thing I'm going to do is just put a little bit of tape on the end. I don't know if you've ever done this before, but just taking a little bit of tape and doubling it back on itself, kind of folding it up so the outside is all sticky, and I'm going to stick that to the end. And being careful with my aluminum can because this edge might be really sharp, so be super duper careful there. And if you need help with an adult, please ask for help. So, our nest is going to go horizontal like this, and I'm simply going to place my nest inside there and kind of press it up against the back so that it's not going to move around too much. Alright, so there we go. Now it's time for me to find a place to put it outside. If you're really excited about this project, you could make more than one bee nest. You could make two of the same and put them in two different locations. Or you can design a couple of different types of bee nests and put them relatively close with your different designs or different locations.
You could compare how many tubes fill in your bee nests. Another idea is that you could paint the outside of your nest. You could paint it solid colors or you could paint flowers or bees or anything you like. I think I've found my spot. There's a shrub with the T-post in the middle where I can secure my nest, and there are quite a few flowers around. So, as we prepare to place our nest, we want to put our nest somewhere where we can observe it pretty regularly. Maybe that's in your schoolyard, maybe that's at home in your own yard. We want to put it somewhere horizontally, and then the opening of the nest, we want to face southeast. So, I'm going to place my left arm, my left, where the sun rises. Alright, that's the east. And then my right arm over here is where the sun sets. So, I'm facing south. So, we're going to want my nest facing somewhere in this direction. So, I'm going to fix it to this stake, facing southeast. So, it's going to be horizontal, it'll be facing southeast, and then we also want it to be about three to six feet off of the ground.
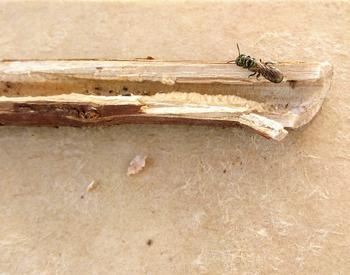
So, I know I'm nowhere near six feet, about five foot four. So, somewhere about my height or lower, and this T-post here will just do the trick. I secured the nest with duct tape, running vertically along the post and over the nest. Then I added a little tape around the post above and below the nest. Okay, I have my bee nests secured. Now what do I do? I wait. I wait and I check in about once a week to see if anybody has laid any eggs in there. And the way you'll know that there have been eggs laid is it'll look like the end is covered with a little bit of mud. I'm going to show you because I have a bee nest already in my yard and there are already some bees that have laid their eggs in there. Actually, quite a few. Check it out. By next spring, the eggs laid in your nests will have become adults, and they'll leave the nests to start the process all over again next year. You can remove your bee nest after you no longer see the mud seals on the end of your paper tubes. That means that the adults have emerged.
To wrap up this discovery challenge, let's think again about the work that Sarah Gardner is doing for the Confederated Tribes of the Umatilla. They are taking care of the food that nourishes them, and you too can take care of your food sources by helping to take care of the bees, including creating a bee nest. So, after you explore and sex and build a bee nest, and by the way, if you can only do one, that's absolutely fine, you'll share your insect discoveries and your bee nest design on Flipgrid. So, until next time, get outside and keep discovering. [Music]
Hey kids, come explore insects and join the effort to help bees. You will look for insects, then make bee nests. Feel free to do only one part if that is all you have time for. This video is part of the Greater Oregon STEM Hub Explore Science Club.