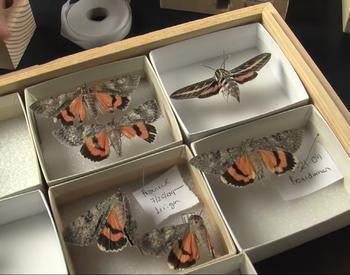
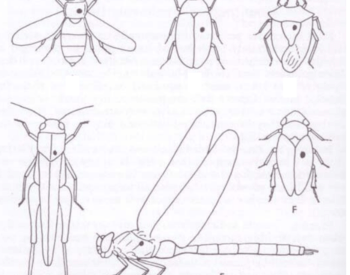
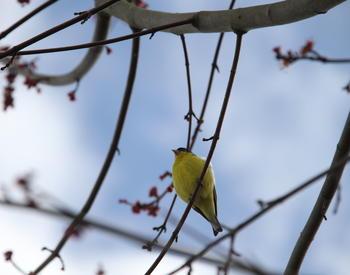
Insects feed on leaves, stems, roots, flower and fruit of many plants (above and below ground) producing direct (visual) or indirect damage (symptoms). There are "good" and "bad" insects and correct identification is important.
Before collecting, make sure that you have permission to collect. It is illegal to collect in a federally sponsored facility or a national park without a collecting permit. Always be careful not to damage plants when collecting.
Insect Collecting Equipment
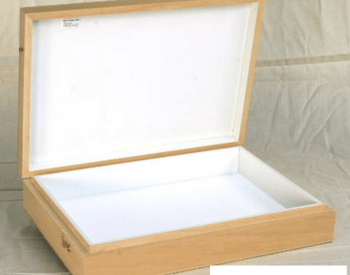
The basic equipment necessary for field collecting is an insect net. You will also need storage boxes, pins, pinning blocks, spreading boards, light and pitfall traps, killing jars, killing and preserving chemicals, vials of assorted sizes, plastic bags and clear containers. A collecting bag made of canvas, muslin or other strong material is helpful to carry equipment. These supplies can be obtained by direct order from one of more biological supply houses such as:
- BioQuip (310)-667-880 http://bioquip.com/PreHome.asp
- Sk Science Kit 1-800-828-7777 http://sciencekit.com/insect-collecting-supplies/
- Home Science Tools 1-800-860-6272 http://www.hometrainingtools.com/
- Gempler 1-800-382-8473 http://www.gemplers.com/
- Note: Companies listed above are not being endorsed by the author(s).
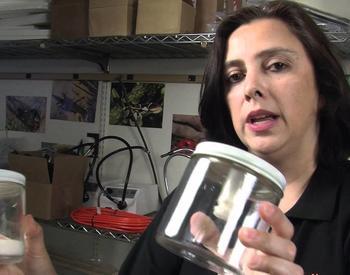
The killing jar
Insects must be killed before pinning and mounting. Killing jars are used as a sort of "small scale fumigation" to kill collected insects as rapidly as possible, using a liquid fumigant or killing agent (ethyl acetate/ nail polish remover). The chemical produces a toxic atmosphere that the insect inhale. Insects breathe through "spiracles" which open and close; thus when spiracles are open they inhale the toxic. The process may take several minutes for smaller insects or up to a half hour or more for larger specimens. Because large, hard- bodied insects such as beetles die slowly and may damage other insects placed in the same killing jar, you will need more than one jar.
How to make your own killing jar
Used jam or jelly and baby food jars will work for a killing jar. Do not use plastic containers because the chemical killing agent may damage them. At least one large(i.e. pint or quart size) jar would be helpful for larger specimens. In the bottom of each jar, place about 1 to 1 1/2 inches of absorbent material, such as cotton, shredded newspaper, Plaster of Paris or wood fiber (sawdust). If Plaster of Paris is used, our it about 1 inch deep and allow it to dry for at least 48 h before use. With paper-or-fiber-filled jars, cut a cardboard circle just slightly larger than the inside diameter of the jar and push it into the opening against the plaster in the bottom. Wrap the outside bottom third of each jar with masking tape to prevent cuts in case the jar is broken. Attach a label that says POISON to each jar and store the jars out of reach of children until you are ready to go collecting. The killing jar is now ready to charge with a killing agent (ethyl acetate/ nail polish remover). Pour enough ethyl acetate (a tablespoon or so) into the killing jar to thoroughly wet the dry, absorbent plaster. Use a bit more if the plaster will absorb it. Pour off any excess into the original container. Turn the lid on tightly to prevent loss of fumes. As the killing jar is used, it will lose its strength so the killing agent must be replenished form time to time. Tear up some strips of paper, crumple them slightly and place them in each jar. This will help to prevent insects from damaging one another. Do not point the jar opening towards your face. If you inhale the killing agent it will make you feel dizzy. If dizzy, get some fresh air immediately.
No killing jar available? Not a problem: Freeze them!
If a killing jar is not available, freezing is another way to kill insects. Simply place your specimens in a plastic blag (a Zip-Lock bag or similar type works well) or small jar and put them in the freezer for an hour or two. Do not handle them again until they are thawed otherwise legs and antennae may break. Insects left too long in the freezer will desiccate. If pinned when dry, these insects will break during handling and wings will be damaged or break also.
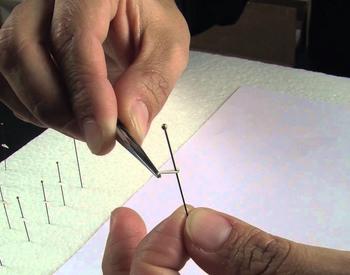
Using the relaxing jar
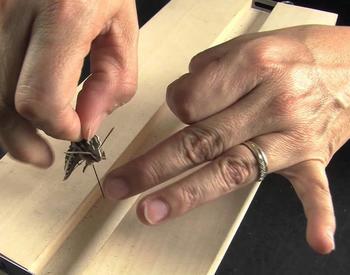
Insects should be pinned on the same day they were collected, however, this is not always possible. If pinning insects left in the killing jar or freezer too long it is always necessary to "relax" them. Place collected samples in a relaxing jar at high humidity for a few days to restore their flexibility. A relaxing jar is easy to make. You can uses baby food or large glass jar. Place some absorbent material such as newspaper, sand or cotton in the bottom and cut a blotting paper disk to fit tightly inside. Moisten the material with water and add a drop or two of ethyl acetate, phenol, Lysol or laundry beach (Hi-Lex, Purex, Clorox) to prevent mold. Place insects on the paper, close the jar tightly and let it sit for about 2-3 days. After that period, if the insects are flexible, mount them immediately. If the specimens are still too stiff, keep them in the relaxer longer.
Using a collecting net
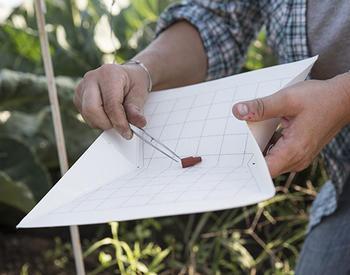
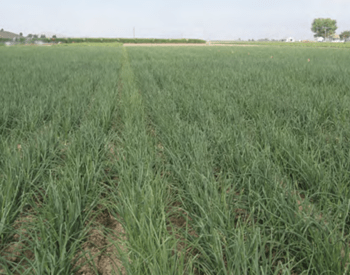
Aerial nets for collecting flying insects can be ordered or made at home. Sweeping nets are widely used to sample insect populations in standing field crops such as alfalfa, wheat and soybeans. As the surveyor walks through the crop, the net is swung in an arc a specified number of times (e.g. 10, 20, 50, 100) per meter/feet/yard. Be consistent. Done at several location over time in a yield, a reasonable assessment of the pest population can be made. How to use an insect net is an "art" that can be learned but requires some rhythm and practice.
Aspirator. The aspirator is a suction device for collecting small insects. It consists of a large glass or plastic vial, a length of flexible rubber tubbing, some rigid plastic or metal tubing and a rubber stopper with 2 holes cut in it to receiving the tubing. A small piece of cheesecloth of fine metal screen serves to seal the suction tube on the inside so that insects are not sucked into the mouth. To use the device, just place the long tube beside a small insect, put the rubber tube in your mouth and suck sharply. They are "fancy" versions of the classical aspirator yet they don't function noticable better.
Light traps. In general, insects are attracted to light and can be captured there by hand. A light trap offers the advantage that it will continue to trap specimens without being constantly watched by the collector. Insects are quite sensitive to different types of light; therefore, more insects can be captured with "black" (or ultraviolet) light as opposed to the regular "white: light. The difference in attractiveness of the two types of light is due to the wave lengths produced by the two kinds of bulbs. Black light consists mainly of the shorter wave lengths which are more attractive to night-flying moths, flies and beetles. White light bulbs (producing mostly longer wave lengths) attract moths and other insects, but not as many as black light.
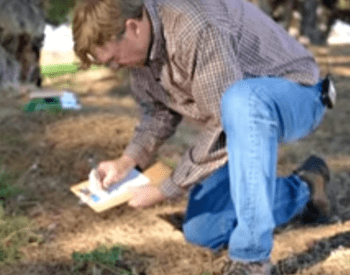
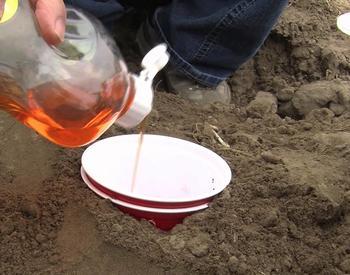
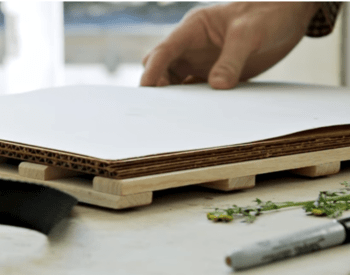
Pitfall trap. A pitfall trap will catch soil inhabitants including ground beetles, spring tails, and other crawling insects. It consists of a trap can that is buried in the soil, level with the rim so that insects attracted to it will fall in. Once inside the trap, insects cannot get out. Cover the trap with a board placed on small stones so insects can crawl under it and into the can. This arrangement will protect the trap form wind and rain, but allow access to the insects you wan to catch. It will also help to hold insects inside the trap once they are caught. Remove the insects that you catch each morning. You will be surprised
Trade-name products and services are mentioned as illustrations only. This does not mean that the Oregon State University Extension Service either endorses these products and services or intends to discriminate against products and services not mentioned.